


Lactose-Free Yogurt Recipe
Make homemade lactose-free yogurt without the high sugar levels and additives that are often found in commercial products.
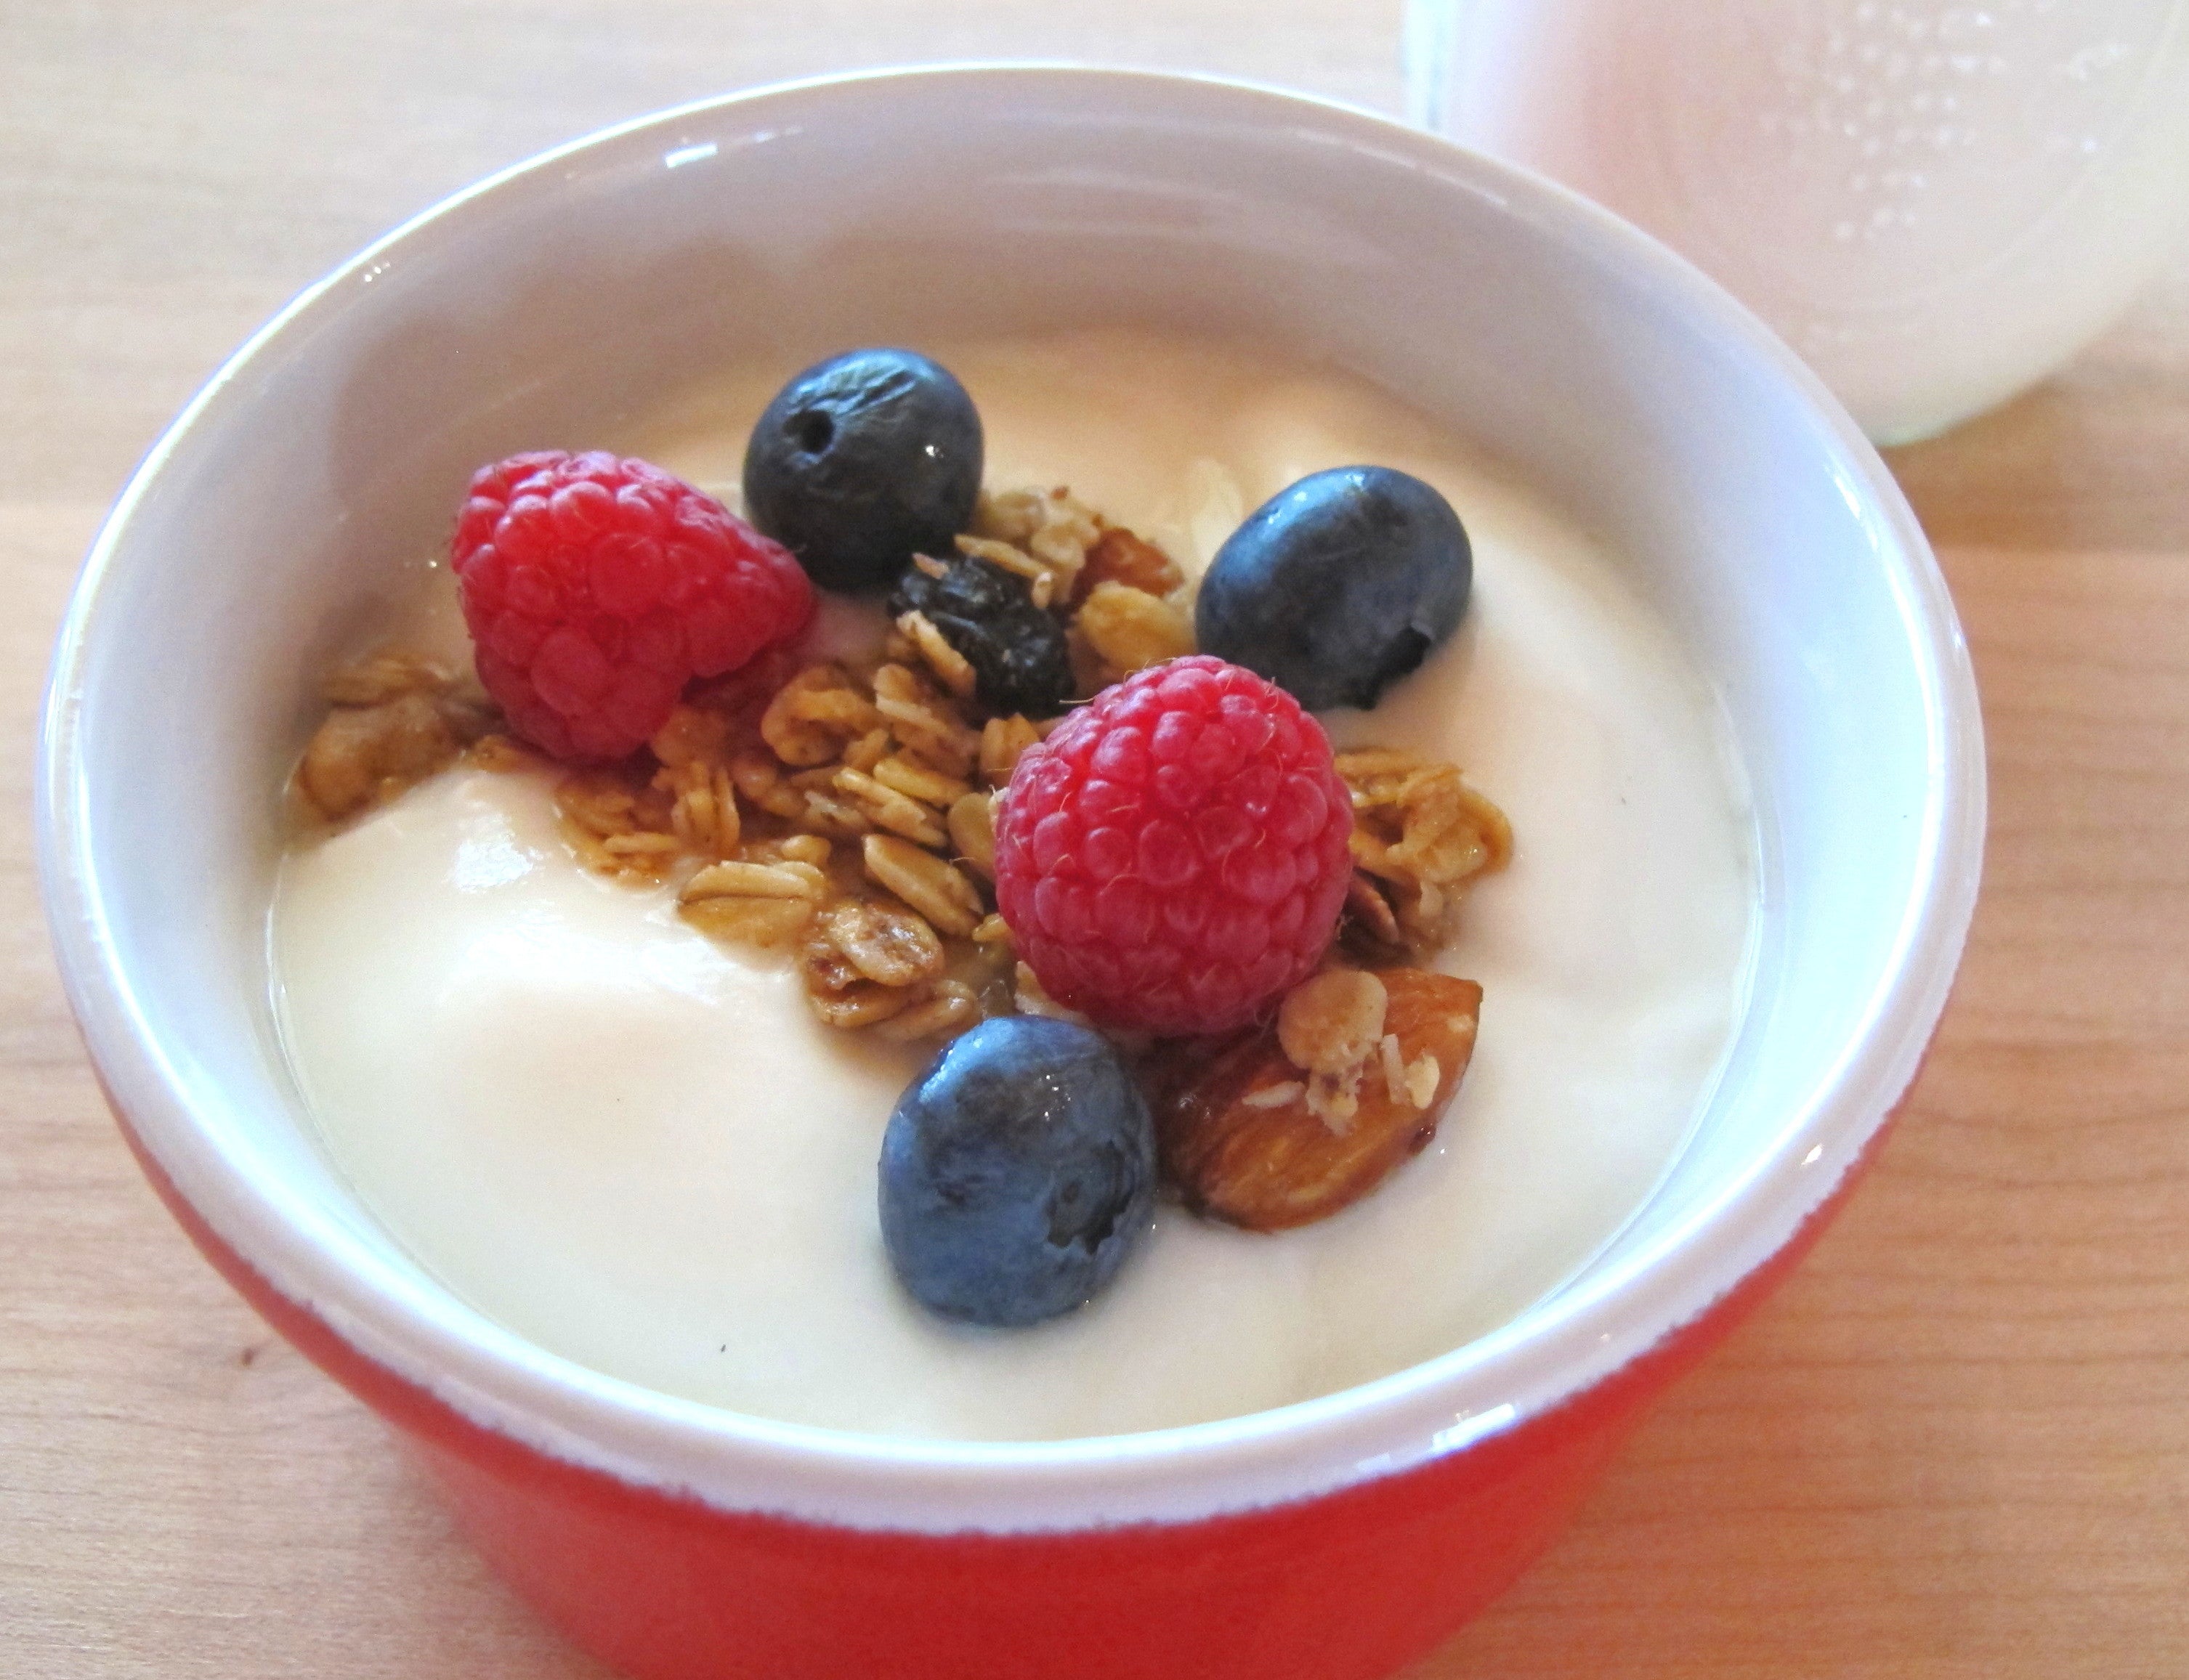
Regular milk and classic live cultures create a delicious, pure yogurt with a naturally tart flavor. For several less tart lactose-free yogurt options, scroll down.
Our “High-Low” method works beautifully in the Proofer to create a smoother yogurt than machines that only culture at one constant temperature. And heating milk to a higher temperature than other recipes denatures more protein for a thicker texture. To eliminate the lactose in regular milk, we use a long, carefully controlled culture in the Proofer to give beneficial bacteria enough time to consume the milk sugars. This creates a yogurt that works well for most lactose-sensitive individuals.
Printable Multi-language Recipes
| Milk (volume) | 4 C / 1 liter | 2 quart / 2 L | 1 gallon / 4 L | 2 gal / 8 L |
|---|---|---|---|---|
| Milk (weight) | 1 kg / 2.2 lbs | 2 kg / 4.4 lb | 4 kg / 8.8 lbs | 8 kg / 17.6 lbs |
| Yogurt* (volume) | 2 Tbs / 30 ml | ¼ cup / 60 ml | ½ cup / 120 ml | 1 C / 240 ml |
| Yogurt* (weight) | 30 g / 1.1 oz | 60 g / 2 oz | 120 g / 4 oz | 240 g / 8 oz |
*Either store-bought plain yogurt with live cultures or homemade yogurt reserved from a previous batch. Learn more about how to maintain a yogurt culture.
Equipment: Brød & Taylor Folding Proofer, thermometer, glass mason jars or other heat-proof containers with a capacity of one quart or less. Everything that will touch the milk should be thoroughly clean and dry.
Note: When using the Folding Proofer to make yogurt, be certain there is no water in the water tray. The water tray is not needed for making yogurt. You can remove it from the Proofer, if you like, or leave it empty. But do not add water because it will affect temperature settings.
Scald the Milk. Using either the microwave or stovetop, heat the milk to 200 °F / 93 °C. If using the stovetop, stir frequently to prevent scorching. Once the milk reaches 200 °F / 93 °C, remove it from the heat. Cover and keep warm for ten minutes. Tip: Whisking the milk to cover the surface with bubbles will prevent the milk from forming a skin during heating and cooling.
Cool the Milk to 115 °F / 46 °C. Uncover the milk and allow it to cool until it is 115 °F / 46 °C or lower. For faster cooling, set the container of milk into a pan or sink full of cold water. While the milk is cooling, set up the Proofer with the rack in place and the temperature at 120 °F / 49 °C.
Add Live Culture Yogurt. To inoculate the milk, add the yogurt with live cultures to a small bowl. Gradually add enough warm milk to the bowl to thin the yogurt and stir until smooth. Add the liquefied culture back into the larger container of milk and stir gently to combine. Pour the milk into culturing jars, cover the jars and set in the Proofer. Tip: For the best heat circulation and most accurate culturing temperature, arrange the jars so that they are not directly over the center of the Proofer.
Culture at 120 °F / 49 °C for an Hour, then Lower the Heat to 86 °F / 30 °C. Set a kitchen timer for one hour, then turn the heat down to 86 °F / 30 °C. It’s important not to let the yogurt remain at 120 °F / 49 °C for more than an hour in order to avoid the whey separation and lumpy texture that can come from culturing too hot.
Set Aside Yogurt to Make the Next Batch. After about three hours (one hour at 120 °F / 49 °C plus two at 86 °F / 30 °C), remove enough yogurt to serve as the starting culture for your next batch of yogurt. Store it in the refrigerator and consider labeling it “contains lactose”. It is important to remove some yogurt early so that your culture will still have enough food (lactose) to last until it is time to make your next batch. Tip: It is convenient to include one small container among your larger culturing jars, so that it can be easily removed early to serve as the seed culture for your next batch of yogurt.

Culture for a Total of 19 Hours. In order to allow the yogurt cultures to consume all of the lactose in the milk, culture for a total of at least 19 hours (one hour at 120 °F / 49 °C and 18 hours at 86 °F / 30 °C). This is the point at which our tests showed that acidity stopped increasing, indicating that all of the available lactose had been consumed by the culture. When the culturing is complete, chill the yogurt thoroughly in the refrigerator.
Mild, Kid-Friendly Options for Making Lactose-Free Yogurt
Honey-Vanilla Lactose-Free Yogurt
The 19-hour culture creates a lactose-free yogurt that is thick and creamy but quite tart. To create a mild, lightly sweetened honey-vanilla yogurt, start with the long-cultured, tart yogurt above. Stir in the baking soda and allow to sit for a few minutes while some of the acid is neutralized. Then stir in the vanilla and honey (or sugar) to taste. The yogurt will thin slightly after stirring, but is still delicious.
Printable Multi-language Recipes for the Honey-Vanilla Version

| Plain lactose-free yogurt | 1 C / 250 ml |
|---|---|
| Baking soda | ¼ tsp / 1 g |
| Vanilla extract | ¼ tsp / 1.25 ml |
| Honey (or sugar) | 2-3 tsp, to taste / 10-15 ml |
Custard-Style Lactose-Free Yogurt
For a mild, slightly sweet yogurt without added sugar, another option is to make our original Custard-Style Yogurt recipe using lactose-free milk and lactose-free, live culture yogurt from the grocery. That will create a mild, naturally sweet yogurt with a subtle “cooked sugar” taste. The extra sweetness comes from the lactose-free milk, in which lactase enzymes break down lactose into other sugars (glucose and galactose), which have a naturally sweeter taste than lactose.


Leave a comment
17 comments
I’m wondering if the lactose free yogurt lasts as long as regular since there are fewer sugars for the bacteria to eat. Does the longer process kill off the beneficial bacteria? Will the bacteria live very long without lactose? TIA
Cheryl, Thank you for your interest and great questions. Lactose-Free generally lasts about 1 week with proper refrigeration. If there are no remaining lactose in the yogurt, the cultures will become inactive or die as that is their main source of energy. To eliminate the lactose in regular milk, we use a long, carefully controlled culture in the Proofer to give beneficial bacteria enough time to consume the milk sugars. This creates a yogurt that works well for most lactose-sensitive individuals.
Thanks for the lactose-free recipe! I made my first batch this weekend and I hope that don’t have any lactose “effects.” I removed my seed culture at the 3 hour mark as recommended, but I noticed that it was not set. If not 3 hours, how long should I wait before removing it? And is the liquid seed culture usable for the next batch?
Rochelle, Thank you for your interest in our recipe and we hope you had success. To make lactose-free yogurt with regular milk, you simply need a longer culturing period to give beneficial bacteria enough time to consume all of the lactose in regular milk. Removing the seed culture at 3 hours is correct and it may have been a bit softer or more liquid, which should be OK. Were you successful in the next batch? Results will also depend on the initial culture you introduced and how enriched it was with healthy microbes. Good luck with your lactose-free yogurt and let us know if we can be of further assistance.
This is the only way I make my yogurt now.
What method did you use to test that the acidity had stabilized/the lactose had been completely consumed? I’m trying to find any other scientific claim that long-fermented yogurt (19-24 hrs) is lactose free.
Bethany: We used pH strips (litmus paper) to test the acidity of the yogurt as it cultured. Using our recommended procedure and temperatures the acidity stabilized after about 24 hours. We stopped the culturing by refrigeration to attempt to maintain the live yogurt cultures. We believe this is a good indication of a low level of lactose remaining in the yogurt, however, we cannot guarantee this is the case. Also keep in mind that the specific cultures used can affect this process. One other note: If you are going to culture at a higher temperature (such as 110F) for a very long period, rather than using our High-Low method, we recommend you culture in a stainless steel pot with a lid using the Slow Cook mode at 110F. If you do not have a Slow Cook model proofer, you can achieve the same results by placing the stainless pot directly on the heating plate and setting the temperature to 84F. See our Slow Cooker FAQs for more information.
I am on a quest to find low carb yogurt. My understanding is that the carbs from unsweetened whole milk yogurt come from the lactose in the milk. Since this method eliminates the lactose in the yogurt, would the number of resulting carbs be zero or at least very low? Do you know the carb count of this yogurt?
Paul, Thank you for your very good question. The number of carbohydrates will depend on the type of milk used to make this recipe. The yogurt will contain the same amount of total carbohydrates, just in a different form. Lactose is a disaccharide sugar found naturally in milk. Each molecule of lactose is made up of two separate sugar molecules bound together, one of glucose and one of galactose. Common white table sugar is also a disaccharide but composed of glucose and fructose. During digestion the enzyme “lactase” breaks apart each lactose molecule into two separate molecules. The sweetness of the sugar depends on the number of molecules that reach our taste buds, not on the calories of sugar consumed. Individual sugars vary somewhat in taste intensity, galactose has a relatively weak intensity, glucose is mid-range and fructose is the sweetest, but number of molecules also outweighs individual sugar intensity. To determine the exact carb count you would need to consider the type of milk used and the seed culture you are using. Calculating the total carbs of those 2 ingredients divided by the number of servings should give you a very close estimate. All the best to you.
I love this yogurt and always make a seed culture however I usually never get around to using it. I’d like to change that though! How long is the seed culture good for and is there any way to determine if it is still viable?
Adam We cannot say exactly how long the seed culture may last. You are probably safe to store for several weeks.
I’ve been making yogurt with lactose free whole milk. It works well. Initially I used a freeze dried starter for my first batch. The brand I’ve used is Yogourmet which I found at an upscale market. The package contains 6 foil packets, each packet makes one quart. Now I just take a tablespoon of yogurt from an existing batch. I have two batches of yogurt and replenish as one is used up. I will try your high-low method with regular milk, Two notes about pre-heating the milk. Heating causes the milk structure to be modified such that the yogurt turns out thicker and consistent. Secondly, I stay away from heating milk in the microwave.
It is always nice to get information about good specialty starters. Thanks!
Doesn’t heating the lactose free milk or starter yogurt kill the enzymes added in commercially prepared yogurts?
Kate – The recipe is written using regular cow’s milk & yogurt. In this recipe, the yogurt is cultured for a longer period of time than our other styles of yogurt which allows the cultures to consume the lactose in the milk. We cannot guarantee that there is not trace of lactose in the resulting yogurt, but we have had many lactose-sensitive individuals who make and enjoy this yogurt. We ourselves have not made the yogurt starting with lactose-free milk so we cannot speak to the results. Let us know if you try it.
I forgot to put my yogurt in the fridge before leaving my house for the day so it stayed in the proofer for probably about 8 extra hours… is it still safe to eat?!
Ellie- Yes, it should still be safe to eat. The longer fermentation time will likely make the yogurt more tangy, but it should be just fine.